Two identical manipulators can handle the same part in completely different ways. The reason is often at the end of the arm: one tool holds the item securely, another requires precise positioning or leaves marks. Therefore, gripper selection is an independent part of the project that cannot be completed by simply checking connector compatibility.
Below, we analyze mechanical and vacuum options, the impact of tooling mass, and the testing program. As equipment examples, we use published materials from Robotiq. This is a task-setting guide: final forces, permissible loads, and operating modes must be checked according to the documentation for the specific tool and robot.
First, describe the object and the action
Knowing only the weight of the part is not enough for selection. You need the shape, dimensions, material, available contact points, surface condition, and orientation before gripping. Then describe the action: move, flip, insert, hold during assembly, or gently place. A tool that confidently lifts an item may not be suitable for precise placement inside a fixture.
It is useful to create a product card with photos and mark zones that must not be gripped. These could be decorative surfaces, thin walls, or areas that will be covered after assembly. If the project involves several products, separate cards help determine whether a single universal tool is truly needed or if it is more reasonable to split the process.
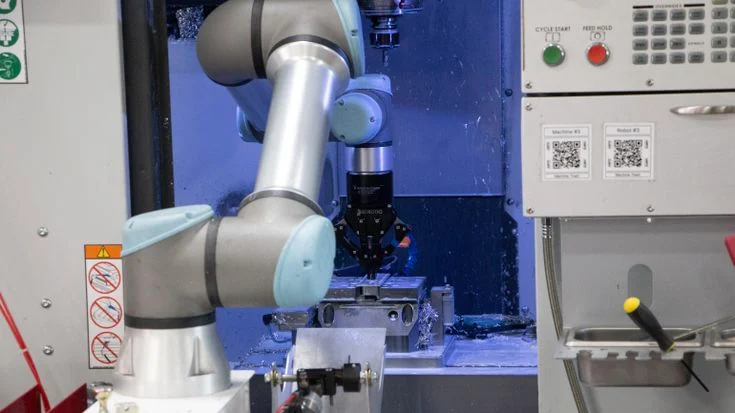
Mechanical gripper: holding with fingers
A mechanical tool clamps the item or holds it by suitable geometric features. Important selection factors are opening width, finger shape, access to the part, and required force. Flat universal fingers are not necessarily equally suitable for a cylinder, thin plate, and complex housing. Sometimes, the result depends specifically on interchangeable tooling.
Both too weak and excessive gripping must be checked. In the first case, the item may shift during movement. In the second, marks, deformation, or damage may occur. For soft packaging and fragile parts, it is especially important to look at repeatability of results, not just a single successful attempt. Maximum force by itself is not an advantage for every product.
Vacuum gripper: the surface becomes part of the system
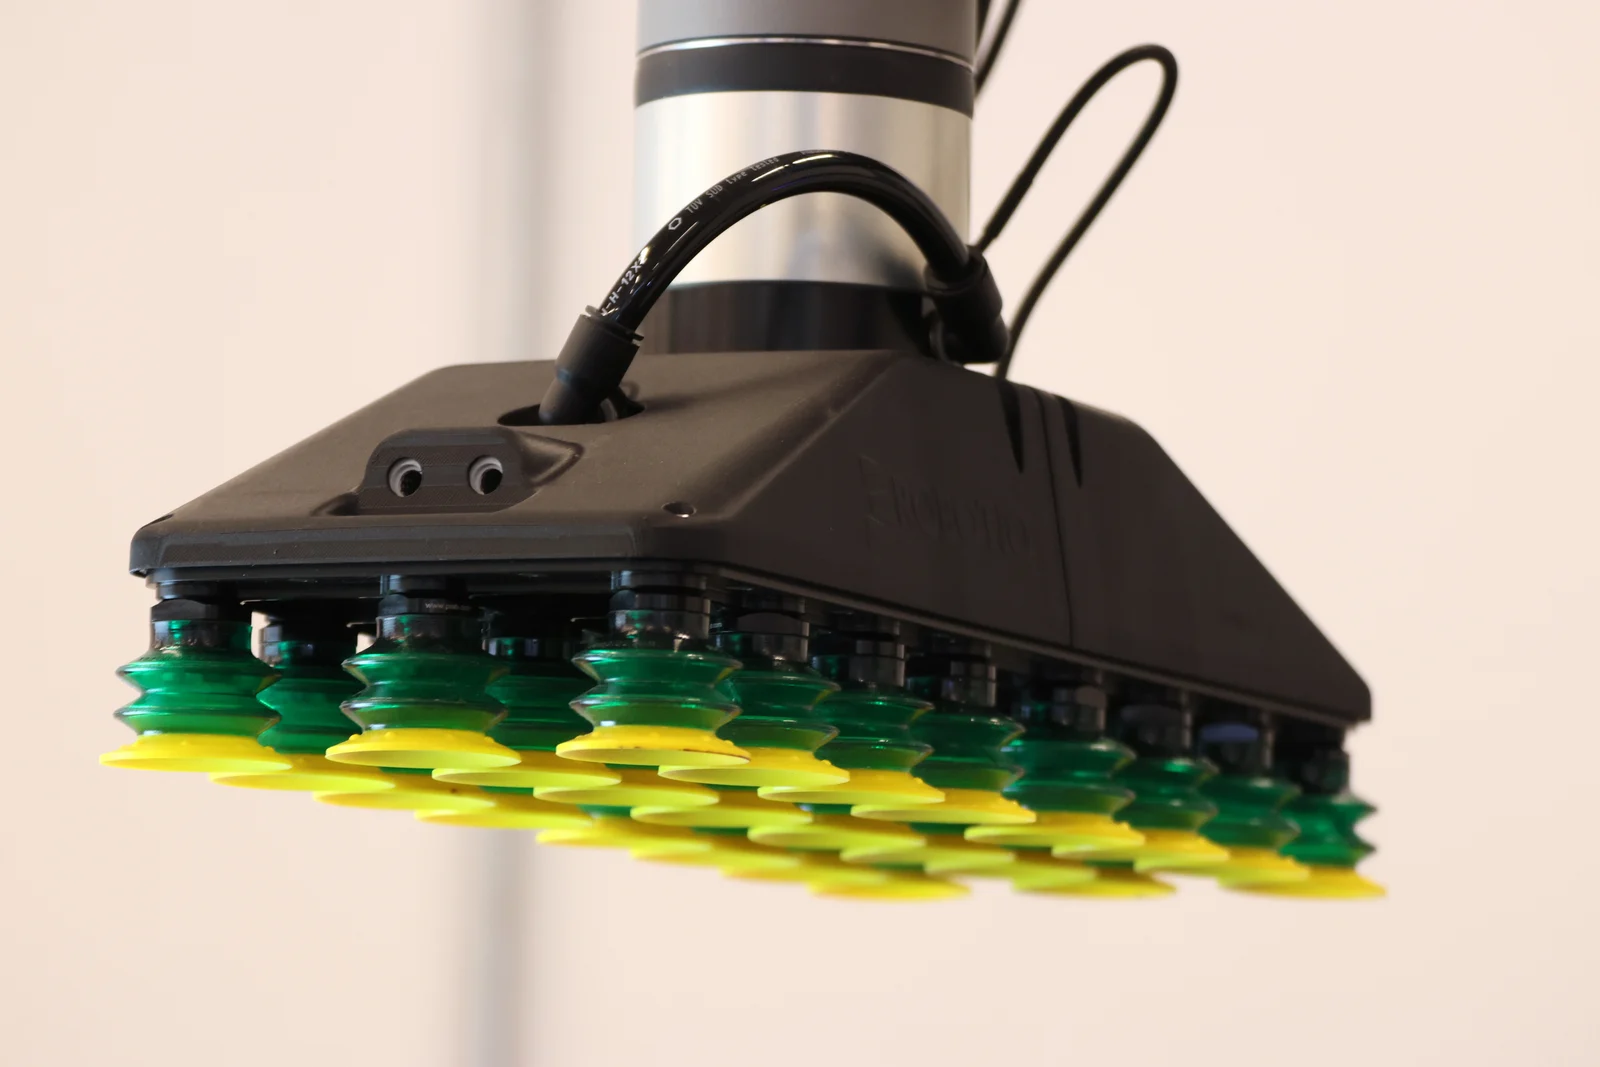
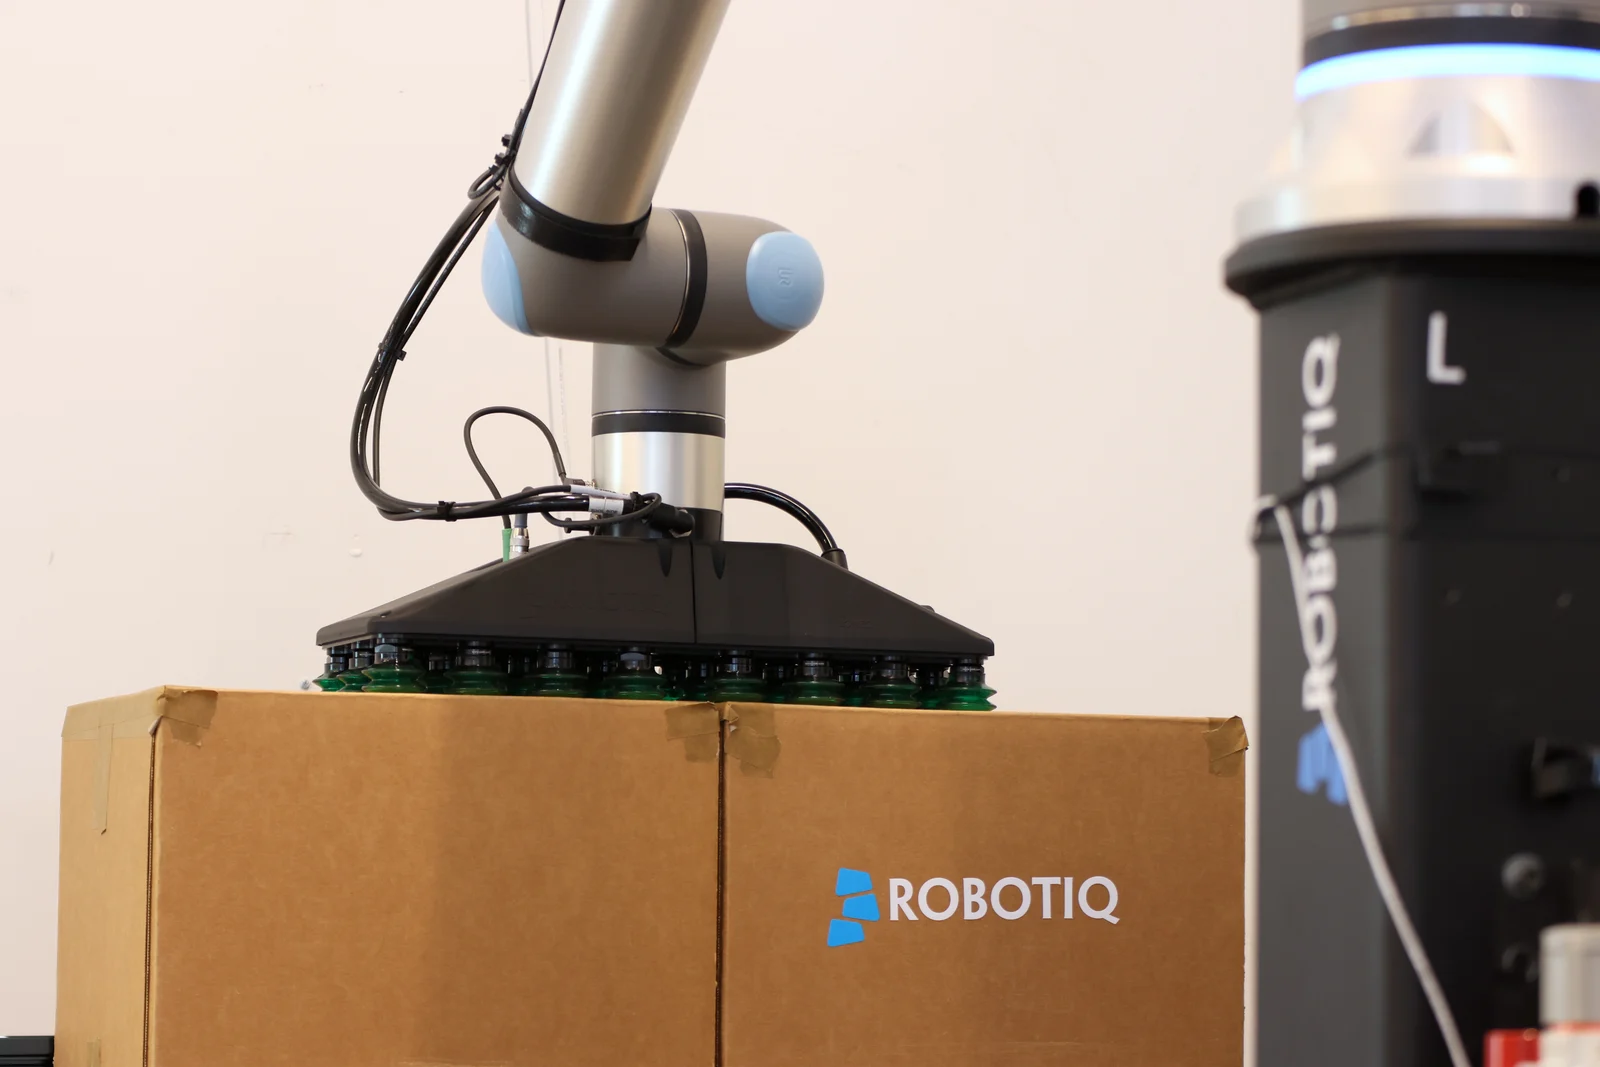
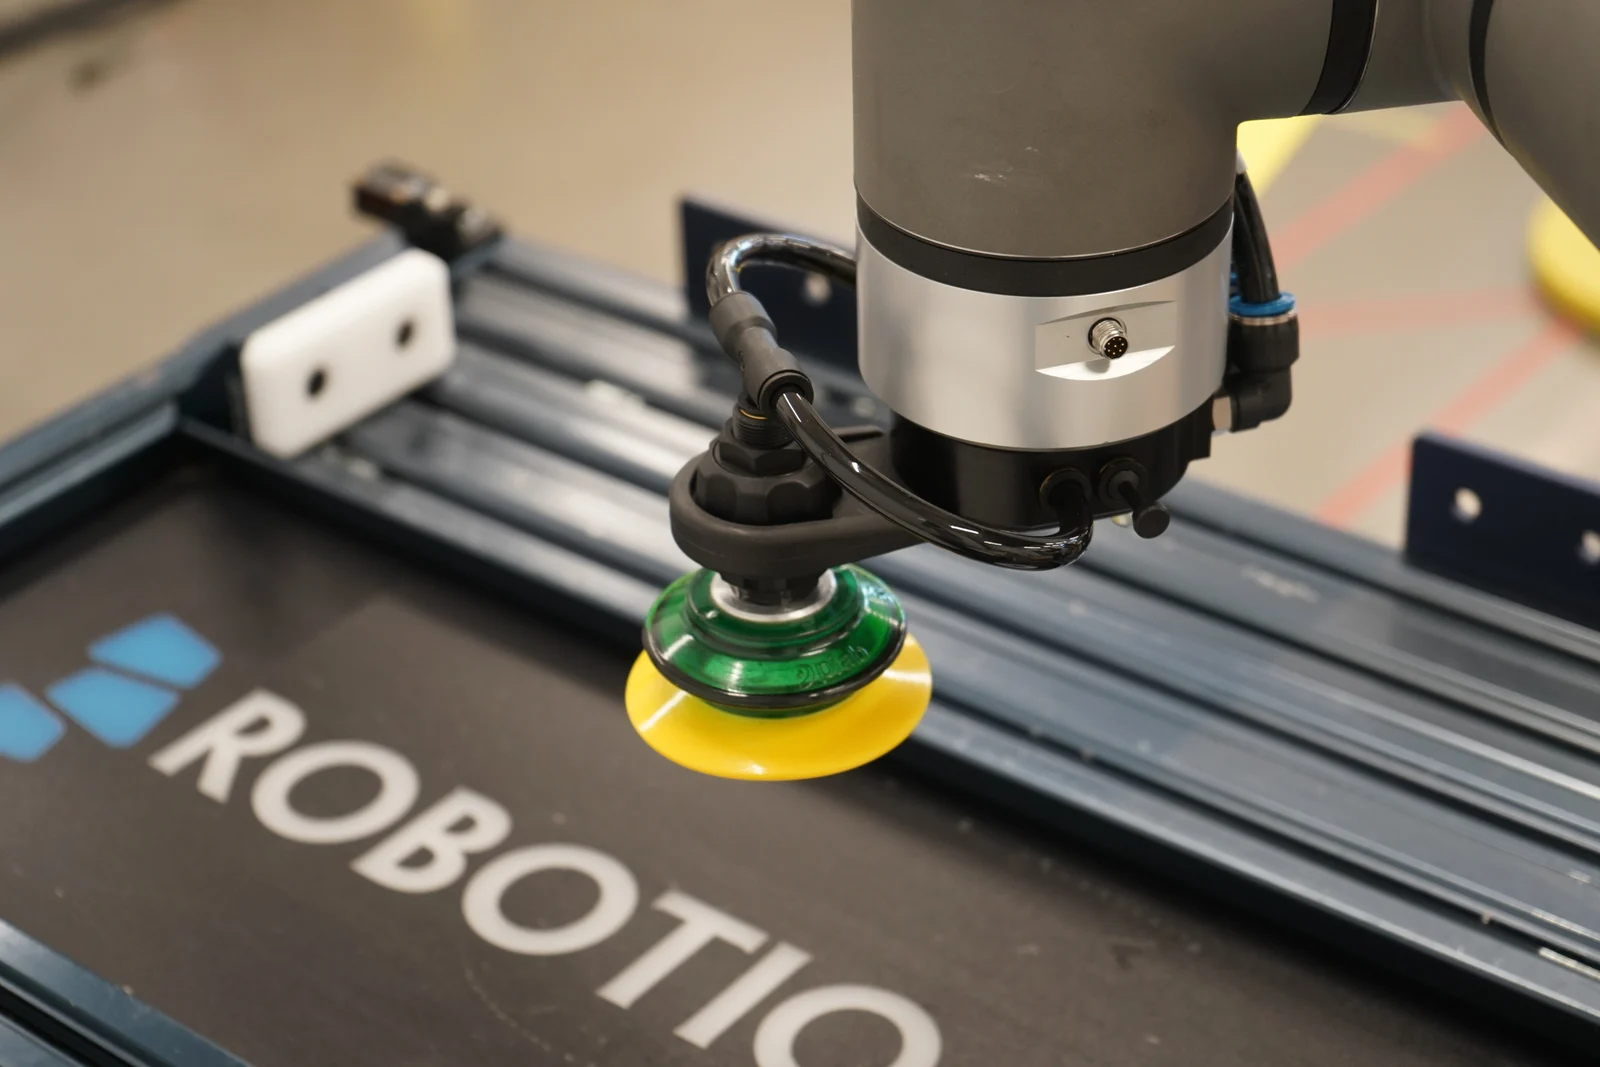
A suction cup holds the item by pressure difference. In practice, this means that the surface and quality of contact affect the entire installation’s operation. A smooth plate, porous cardboard, and flexible bag each require a different approach. Even if items weigh the same, leaks, deformation, and available contact area can vary significantly.
Robotiq manuals consider product properties, air source, and integration with the robot among the selection criteria. For the project, it is also useful to clarify filtration requirements, suction cup condition, and the method for detecting successful gripping. If some suction cups are over a void, the system’s behavior must be checked on the actual item, not assumed from a photo of the tool.
| Condition | What to check on a mechanical gripper | What to check on a vacuum gripper |
|---|---|---|
| Fragile surface | Finger pressure and contact marks | Suction cup marks and allowable deformation |
| Several sizes | Opening and changing tooling | Position and contact area of suction cups |
| Contaminated part | Finger slippage and cleaning | Sealing, leaks, and filtration |
| Limited space | Finger access and dimensions | Surface access and tool height |
| Reconfiguration | Adjustment of force and position | Changing suction cups and vacuum modes |
The arm's payload cannot be fully allocated to the part
The robot moves not only the product: the gripper, adapter, and possible additional elements are mounted at its end. Their weight is included in the load. The position of the center of gravity, tooling reach, and movement characteristics are also important. The configuration's suitability must be checked against the specific manipulator's limitations, not just a single number in the model name.
A hypothetical example: if the item has become lighter, but the new tool is longer and heavier than the previous one, the work mode does not necessarily become simpler. To compare two options, the integrator needs actual weights and assembly geometry. Such a calculation helps avoid situations where the chosen arm fits the product but is poorly compatible with the required tooling.
Grip confirmation and failure handling
The operating program must recognize that the action has been completed successfully. For mechanical tools and vacuum systems, the confirmation methods may differ; the specific set of signals depends on the model. It is important to define what the system does if the item is not held, is picked up incorrectly, or is missing from the expected location.
Agree in advance on the retry logic and escalation to the operator. Repeating a failed grip endlessly is usually no more useful than stopping the entire process too early. During the pilot, observe whether the causes of failures differ and whether the log allows you to understand what happened. Convenient recovery affects the performance of the entire cell.
How to compare tools on your batch
Prepare a sample that reflects real conditions and maintain the same procedure for each candidate. Include minimum and maximum sizes, permissible surface deviations, and typical feed positions. Testing only a new, clean part may hide issues that will arise in serial production.
Record not only the number of drops. Note displacements, damage, retries, changeover time, and maintenance duration. If the tool works quickly but often requires manual adjustment of the item, the nominal opening time does not reflect its real usefulness. The acceptance result is a completed operation with a good-quality item.
One universal tool or interchangeable tooling
For a stable item, a custom finger shape or simple tooling may be more convenient than a complex universal solution. With a wide variety of products, another question arises: how long does it take to switch between tasks? It may be more useful to have an interchangeable tool than to try to make one gripper work for the entire range with compromises.
Comparison should be done at the shift or batch level. Consider preparation time, position checking, return to work, as well as tooling storage and installation errors. More complex equipment is justified if it solves a measurable production task. The number of settings alone does not make the process better.
What to send to the integrator for initial selection
Prepare photos or a model of the item, size range, weight, and surface description. Add a feed diagram, required orientation after the operation, and the dimensions of the available space. Specify the robot model, environmental conditions, and available communications. The clearer the initial data, the more substantive the discussion of options before purchase can be.
- Which items are included in the project and which are definitely excluded?
- Where is contact allowed and what marks are considered defects?
- What confirms a successful grip and correct installation?
- How much time is allowed for item changeover and maintenance?
- Who supplies consumables and provides support in case of malfunction?
Editorial conclusion by SHKARAN: gripper selection starts with the item and the action. Mechanical fingers and suction cups solve different tasks, and the right option is determined by testing the entire operation. A good tool should hold, move, and release the item predictably, and remain convenient for the staff who will work with it every day.